Next.js & Shopify Storefront: A Step-By-Step Tutorial
Headless commerce has become increasingly popular over the past several years. It refers to the decoupling of the frontend user interface with the commerce engine.
By decoupling your tech stack, your developers can now build custom frontends with any technology.
In this article, we guide you step-by-step on building this online storefront with Next.js, the popular JavaScript framework.
We will power our storefront with Shopify, the leading ecommerce platform. Shopify’s Storefront API makes going headless with Shopify easy.
We then deploy the Next.js-Shopify storefront to Vercel, the cloud-hosting platform.
If you have any questions during the tutorial, feel free to check out the code repository on GitHub.
This tutorial will walk you through the following steps:
Create a Shopify store
To create a Shopify store, you’ll first need to join the Shopify Partners program.

Create a Shopify Partners account
Select Store on the dashboard
Choose to create a development store
Choose a store name and URL before creating your store.
After creating a development store, you’ll be redirected to an admin panel where you can manage your new store.
First thing you’ll want to do is add some products. For this tutorial, you can import this list of products.
To add products to your store, select Products from the admin panel and import the products. It may take a minute or two for the product to load. But once they do, your products page should look like this:

Get a Shopify Storefront API Token
Now that you’ve created a Shopify store, you’ll need to retrieve a token. This token will allow you to make queries against your product data.
Select Settings from your store dashboard.
Click on Apps and Sales Channels.
Select Develop Apps and Click on Create an App
Name your app and select Create App
Once you’ve created an app, you’ll need to configure the access scope. You can do that by clicking on the Configure Storefront API scopes button.
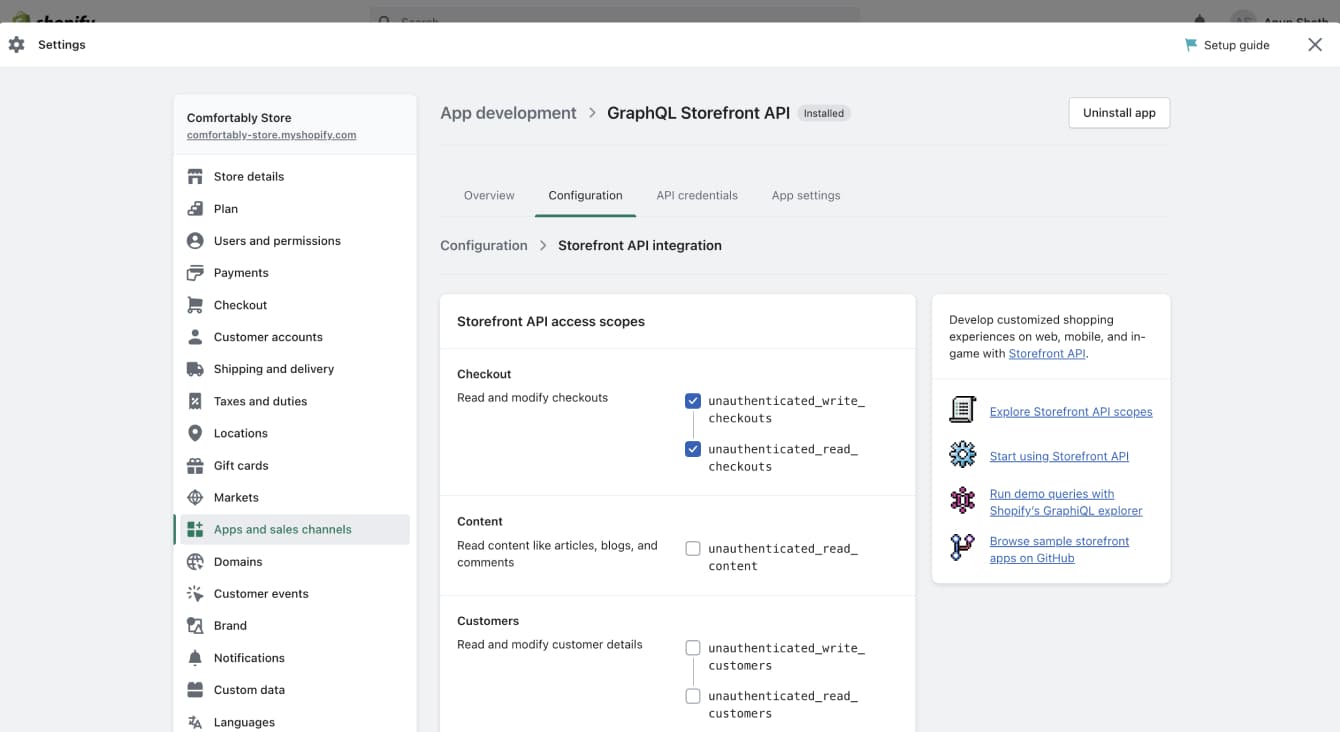
Give yourself permission to read and modify checkouts and read products, variants, and collections.
Now you’re ready to click on the Install App button on the top right. Once you’ve installed the app, your Storefront API will be available for you to copy.
Next.js setup and configuration
Let’s go ahead and set-up Next.js locally and configure it for development.
Create a Next.js app
For this tutorial, we’re going to assume you have a basic understanding of JavaScript, React, Next.js, and Tailwind CSS.
In your terminal, add the following code to create a starter Next.js application:
When you run this code, you’ll be asked several questions:
When prompted, type “y” to install the app
Select a name for your project
Select “no” when asked if you want to use TypeScript.
Select “no” when asked if you want to use ESLint
Select “yes” when asked if you want to use Tailwind
Select “no” to use a
src/directorySelect “no” to using the experimental
app/directoryPress return when asked if you want to configure import aliases.
Open up the directory in your favorite code editor. You should see this folder structure:

Configure your Next.js app
On the command line in your terminal, run npm run dev to start your development server. You should be able to visit your new app at localhost:3000.
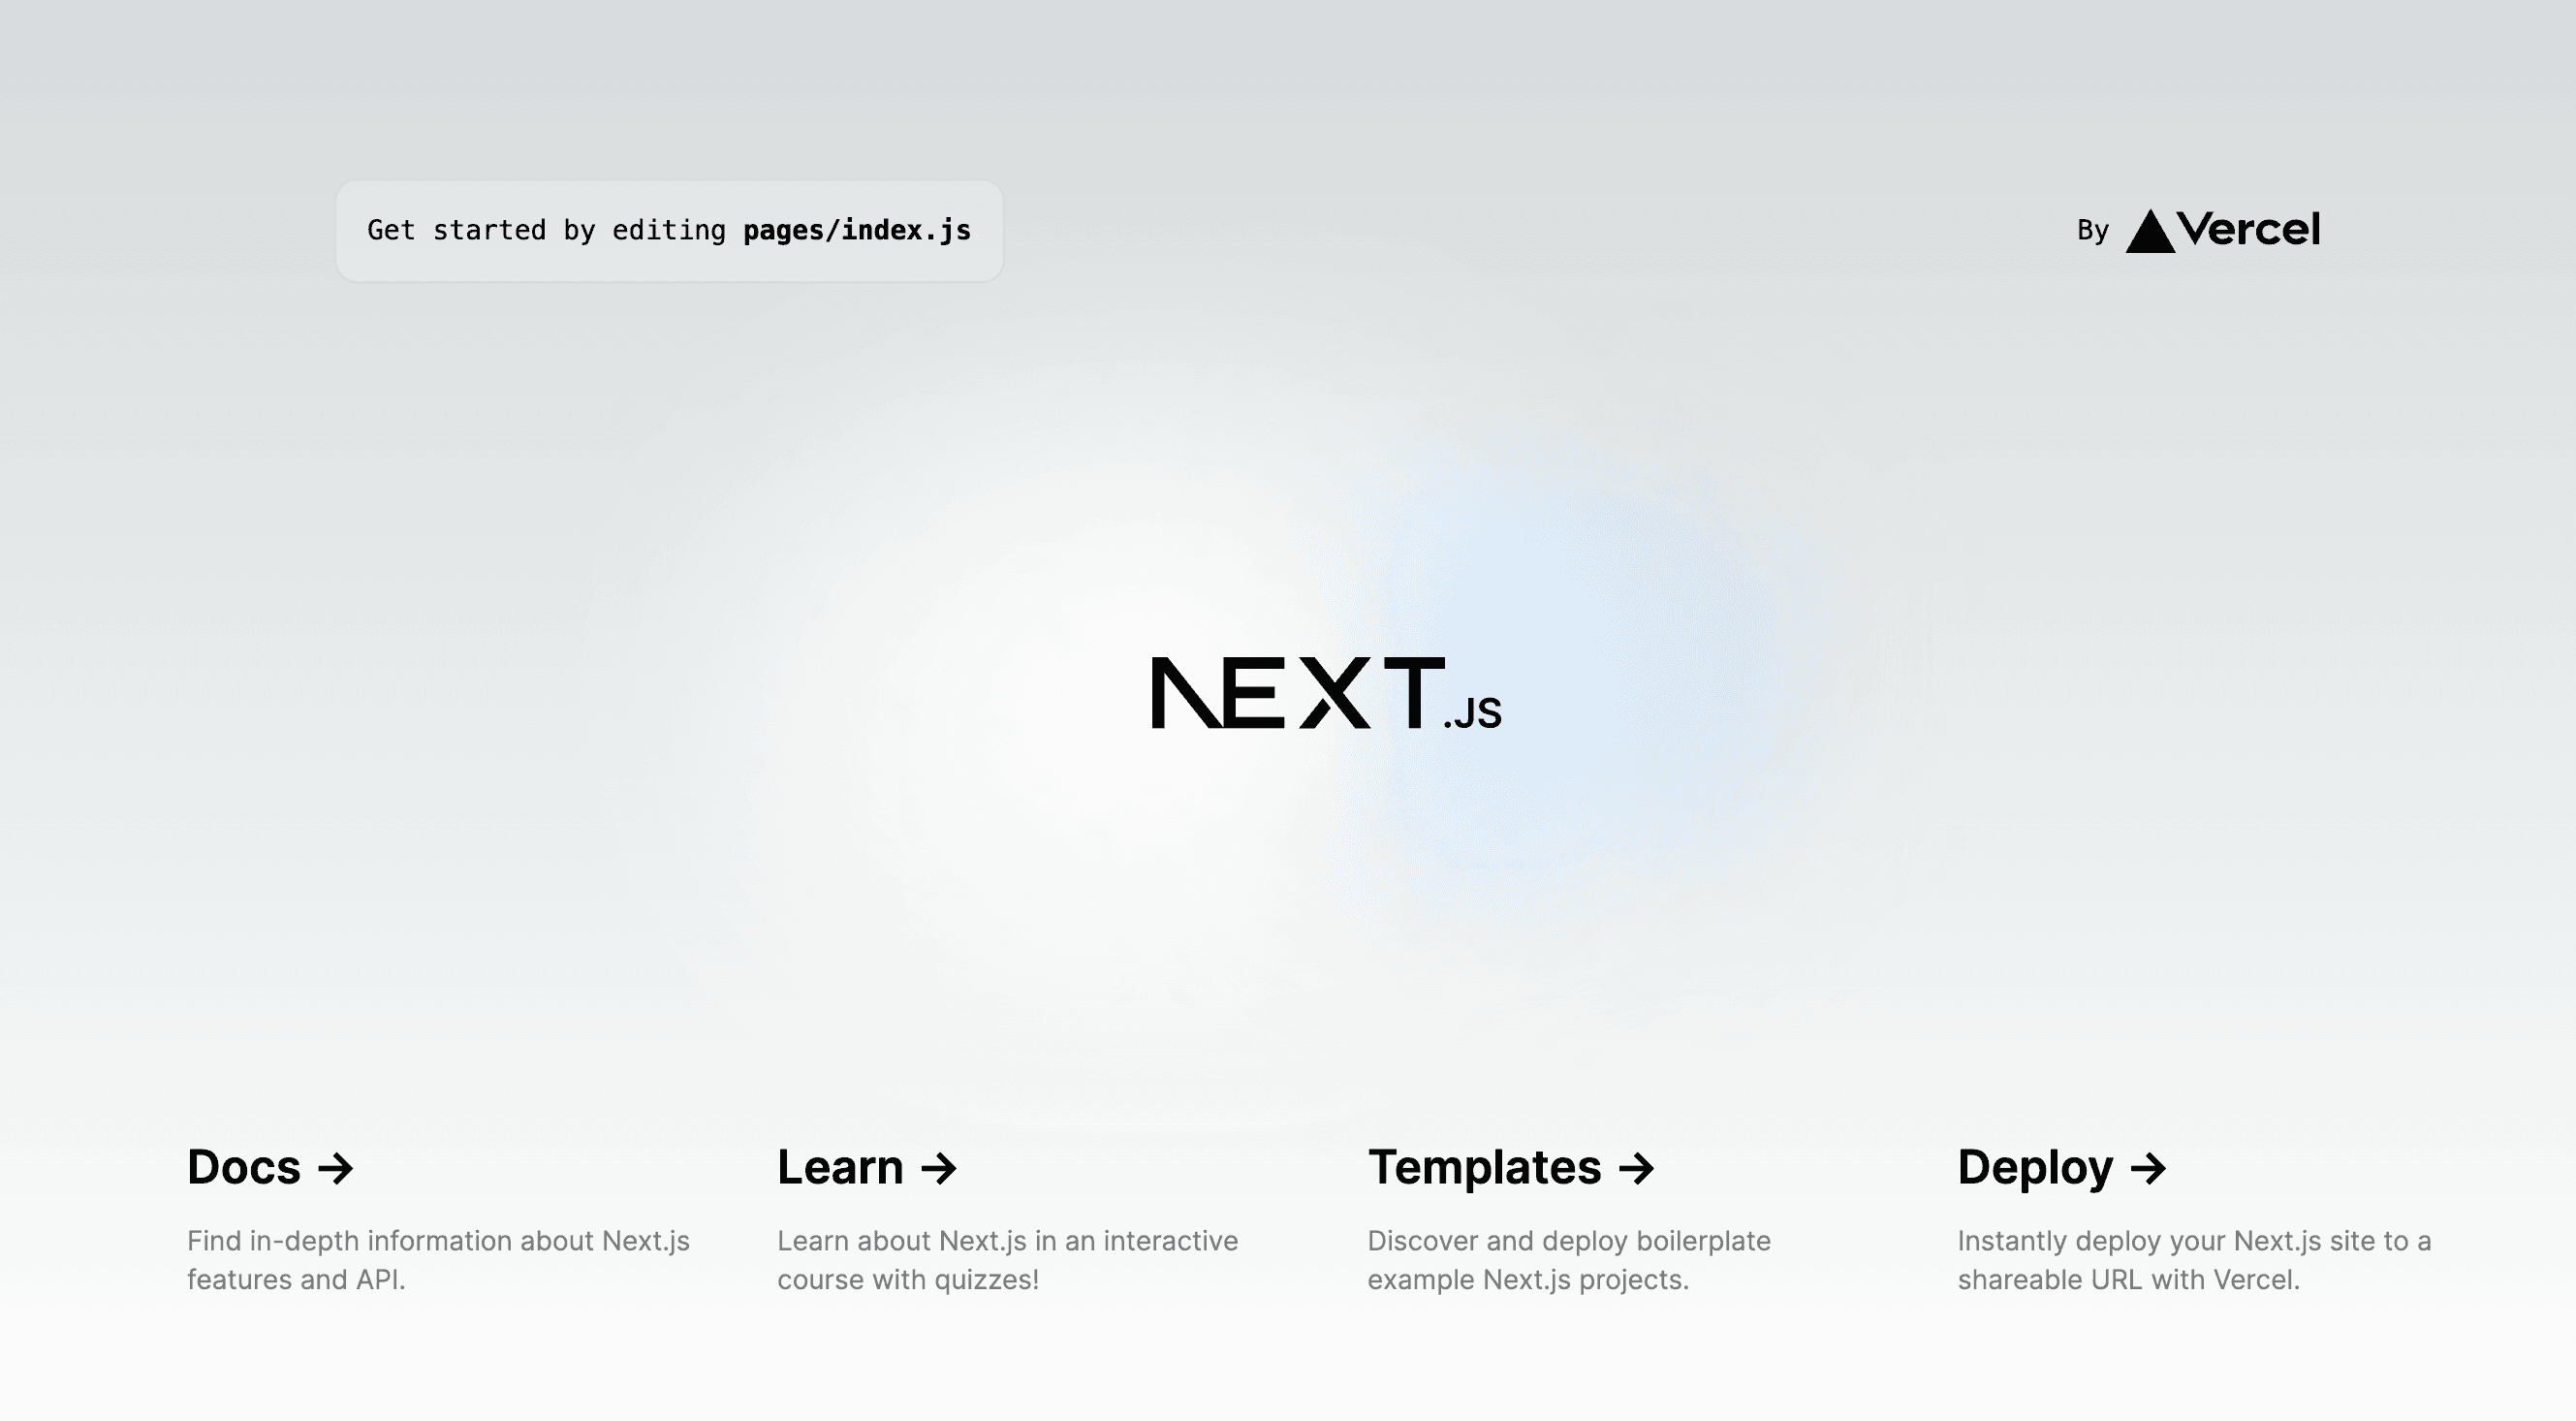
Congrats! We’ve created a new Next.js app locally. But we’ll need to make a bunch of changes to this starter app before we start to add our own code.
First, add an image option to your next.js.config file with the following code:
This allows your app to render images from Shopify.
Next, replace the backgroundImage extension in the tailwind.js.config file with this code:
This code adds a custom color to our palette. Feel free to replace #000000 with any value you want.
You’ll also need to remove any CSS from the globals.css file in the styles/folder. Your file should only import Tailwind plugins.
Finally, let’s create a .env.local file to hold our environment variables.
Add your access token and domain name to the .env.local file.
To get your store domain, select Settings in your store admin panel and go to Domains.
Add components
Now that we’ve configured our Next.js app properly, let’s add some components. First thing we should do is add a components/ folder in the root directory.
In this folder, we’re going to add a few files. Each file will be a component that we will later import into pages/.
First, let’s add Header.js to our new folder.
Feel free to rename the store name and replace the logo.
Now let’s add a Footer.js, which you can customize however you want.
And now add a Layout.js file that will wrap our entire app and add our Header and Footer component to every page.
Now let’s add ProductCard.js.
The ProductCard component will receive your product data as a prop and display it to your shoppers.
In the next section, we’ll import all these components to create our product listing page.
Create a product listing page
Before we create a product listing page, we first need to make sure that we can request data from the Storefront API.
Fetch your products with GraphQL
In the root directory, create a helpers/folder and add a shopify.js file. We’ll use this file to retrieve our product data so we can create our listing page.
The callShopify function requests data from the Storefront API and accepts two arguments: The first is a query and the second are variables.
allProducts is a query we’ll use to retrieve our products from Shopify.
You’ll also notice that we’ve assigned the String.raw method to gql and pass the query as a parameter to it.
You can omit this if you want. This is a hack to get VS Code to highlight the query syntax.
Display your products
Let’s now delete all the code in your index.js file. Replace it with the following code.
Before we check out our new product listing page, we’ll need to make sure our header and footer render.
Replace the default code in the pages/_app.js file with this.
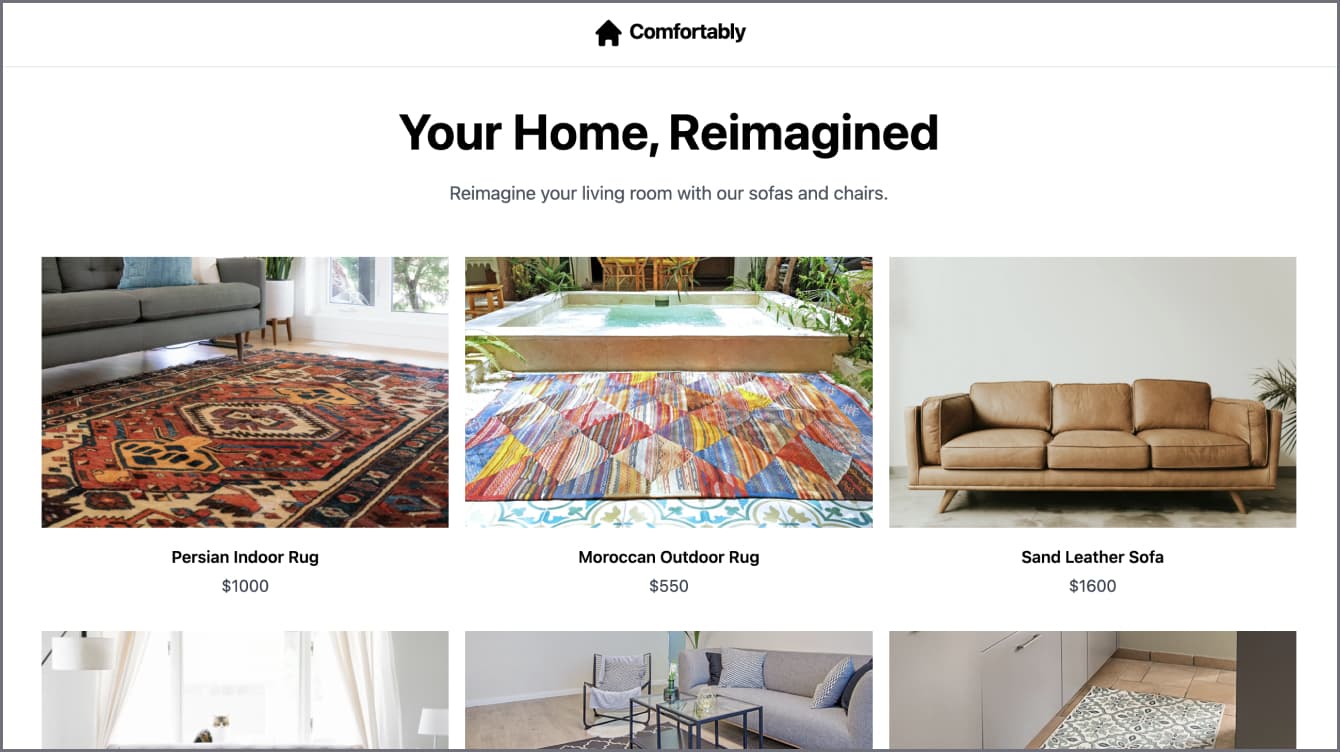
Now let’s rerun npm run dev and revisit localhost:3000 in your browser. You should see all your products.
Add a product details page
You’ll get a 404 error if you click on any of the images on the product listing page. Let’s fix that by creating a detail page for each of our products.
Fetch product details with the Storefront API
To do that, we’ll first need to update helpers/shopify.js with two new queries. One query will fetch the slugs for each product page. The other will fetch the details for each product based on the slug.
Create your product detail pages
Create a new file in the pages/ folder and call it [product].js. In that file, add the code below.
getStaticPaths tells our Next app how many pages to generate and what their slugs should be. getStaticProps will then fetch the product details for each of those pages.
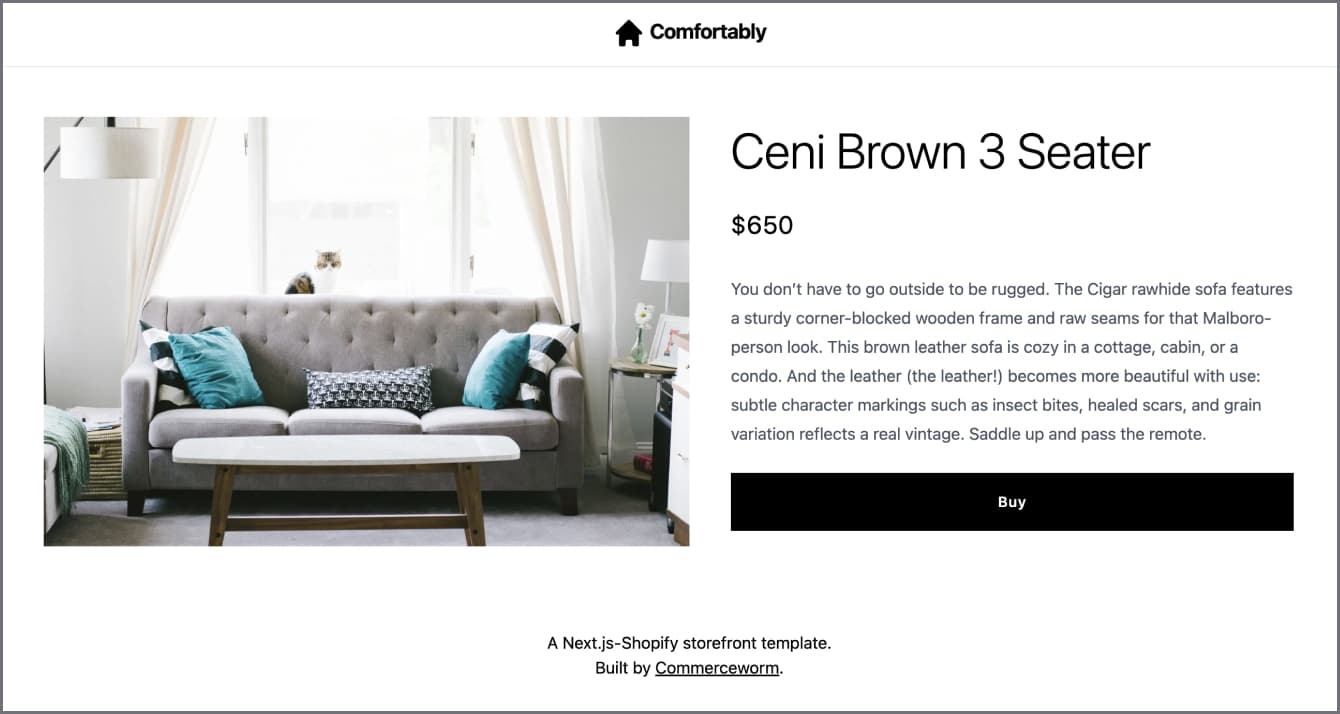
We then pass the data as props to ProductDetails so we can display that data.
Add a checkout experience
We now have a product listing page and a details page for every product. But how does a shopper buy a product?
Let’s start by adding one last query to helpers/shopify.js.
createCheckout will request the Storefront API to generate a URL. We can use that URL to redirect the shopper to the Shopify checkout page.
Next, let’s rename hello.js in the pages/api/ folder to checkout.js. Replace all the code in that file with this.
This will relay a checkout request from the product detail page to the Storefront API and return a URL. We can use this URL to redirect the shopper to the Shopify checkout page.
Finally, let’s make a few updates to the pages/[product].js so the customer can check out.
We’ve added a bunch of new code to this page.
isLoadingandsetIsLoadingto trigger a loading state when the shopper presses the Buy button.A function which fetches the checkout URL from
api/checkout.jsand redirects the user to the Shopify checkout page.A Buy button which triggers
checkout()and the loading state.
When you visit the detail page and press the Buy button, you’ll be redirected to the Shopify checkout page.
Deploy to Vercel
In this section, let’s take the online storefront we built and deploy it.
Push your code to Github
Before we deploy to Vercel, we’ll want to first push our code to Github.
If you haven’t already, create an account with Github.
Click on Create a New Repository.
Name your repository and select Create Repository.
Then type and return each line of code in your terminal.
Deploy to Vercel
Now let’s deploy our code repository to Vercel by following these steps
Create an account with Vercel.
Connect your new account with Github.
Authorize Vercel to have access to your Github repositories.
Import your new storefront repository.
Add the access token and domain name in your .env.local file as environment variables.
Deploy your storefront!
Once you’ve completed all the steps, you should see this:
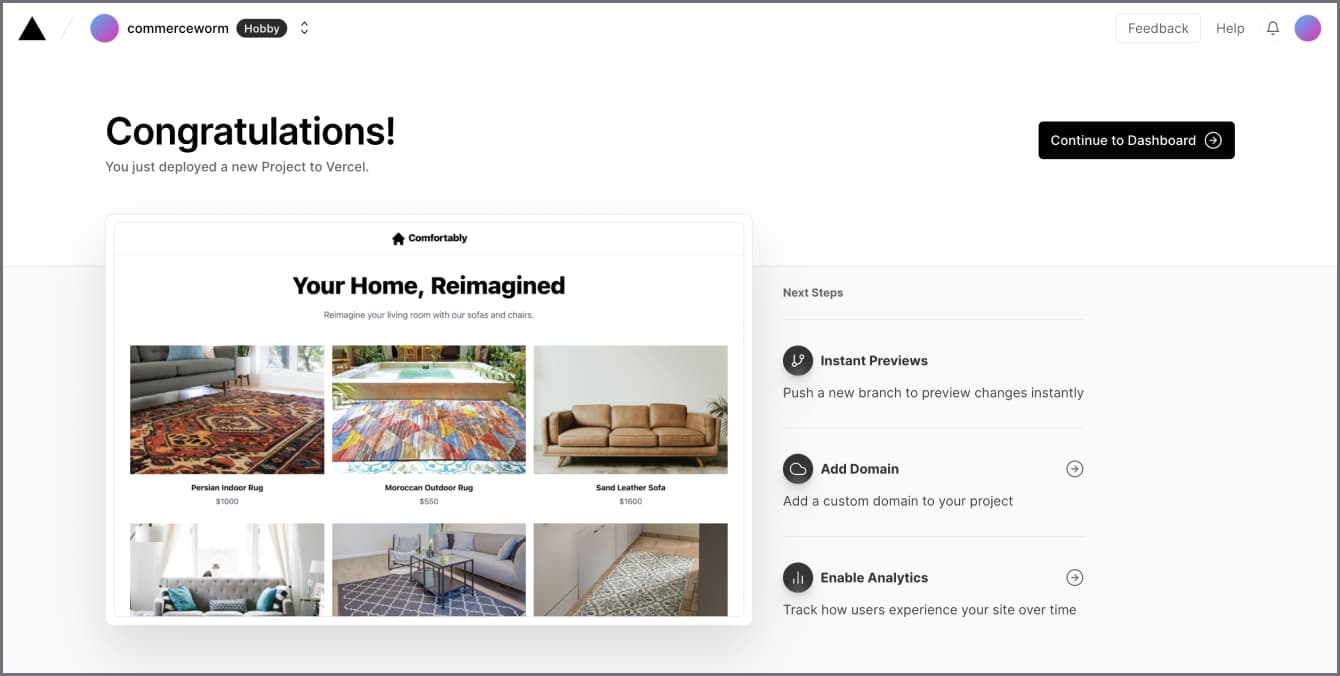
Wrap Up
Congratulations! You’ve built an online storefront with Next.js and the Shopify Storefront API and deployed it to Vercel.
In future articles, we’ll enhance this storefront with new features.
A cart experience
SEO optimization
Collection pages and product filtering
Integration with a headless CMS